

Processing Advent Calendar 2025の7日目の記事です
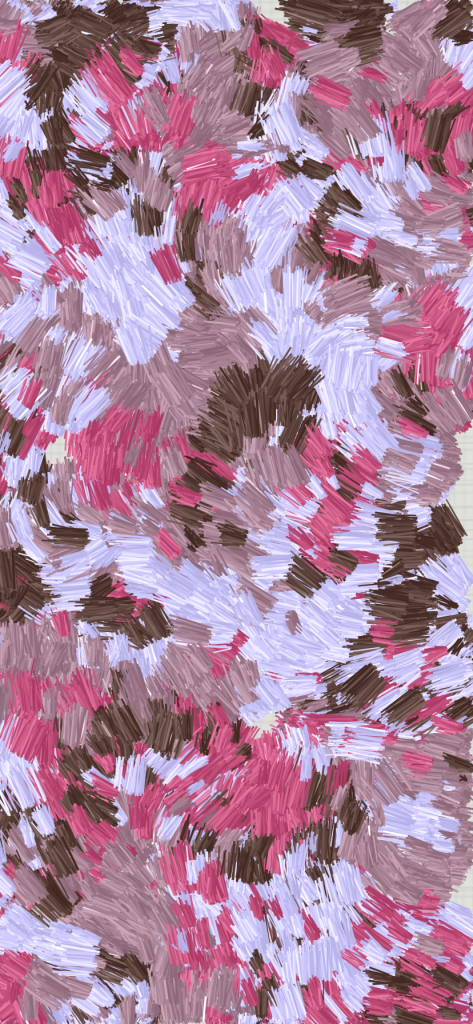
↑ 白キャンパス地に油絵の絵の具を塗ったイメージです。
初めてadventカレンダーに参加してみました。creative codingについて誰かの役に立つ記事とか書けないから参加はやめとこうと思いつつ、担当の日が近づけばなにか新しいこと思いつくだろう!と高をくくって参加。やはり最後まで思いつかずでした。
苦し紛れに、randomについてこれは!!!!と、これまで2つほど思ったことがあったのでそれを書いてみます。それを使って、表紙の絵を完成させていこうと思います。
1. for loopの更新式にrandom
  for (let index = 0; index < width; index += random(5, 10)) {
    ....
  }
こんなfor loopはcreative coding分野以外では存在しないのではないかと!再現性の真逆、テストの書きやすさの欠如。他の分野ではNGパターンでしょう。一定間隔で何かを置きたいけど、まったく間隔が一緒なのは嫌だというときに便利です。
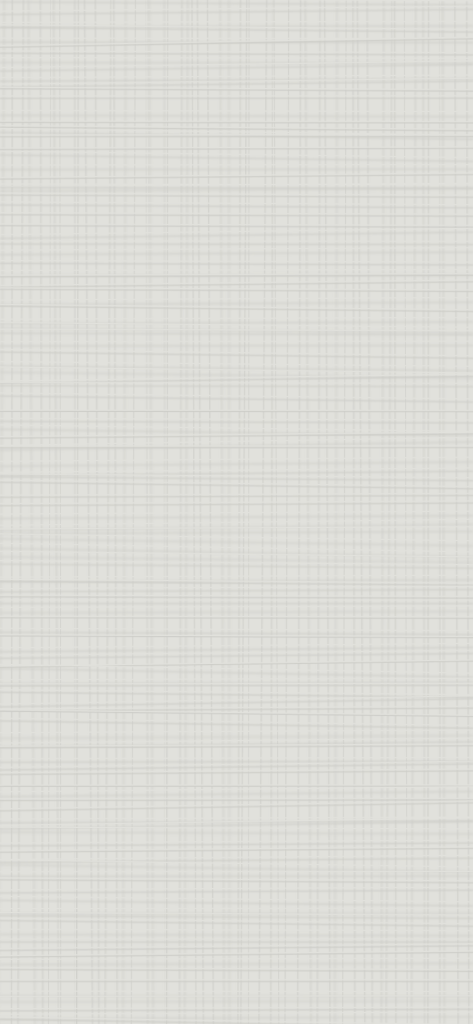
これを使って、白いキャンバスの下地の凹凸を書いてみました。
function setup() {
  createCanvas(windowWidth, windowHeight);
  let backgroundColor = color(225, 225, 220)
  background(backgroundColor)

  // ---- キャンバス柄 ----
  //縦線
  let lineColor = backgroundColor
  lineColor.setAlpha = 10
  let lineShadowColor = color(0)
  let darknessOfLineShadow = 20
  lineShadowColor.setBlue(blue(backgroundColor) - darknessOfLineShadow)
  lineShadowColor.setRed(red(backgroundColor) - darknessOfLineShadow)
  lineShadowColor.setGreen(green(backgroundColor) - darknessOfLineShadow)
  for (let posx = 0; posx < width; posx += random(5, 10)) {
    push(); translate(posx, 0)
    let mockdistance = random(1, 5)
    drawingContext.shadowBlur = mockdistance;
    drawingContext.shadowColor = lineShadowColor;
    drawingContext.shadowOffsetX = mockdistance;
    drawingContext.shadowOffsetY = 0;
    stroke(lineColor)
    line(random(-1, 1) * 4, 0, random(-1, 1) * 4, height)
    pop()
  }
  //横線
  for (let posy = 0; posy < height; posy += random(5, 10)) {
    push(); translate(0, posy)
    let mockdistance = random(1, 5)
    drawingContext.shadowBlur = mockdistance;
    drawingContext.shadowColor = lineShadowColor;
    drawingContext.shadowOffsetX = 0;
    drawingContext.shadowOffsetY = mockdistance * 2;
    stroke(lineColor)
    line(0, random(-1, 1) * 4, width, random(-1, 1) * 4)
    pop()
  }
}
2. Weighted Random Choice
randomで配列から1つをピックアップしたいとき、配列から取得される可能性は配列内は全部同じです。例:random([“choice1”, “choice2”])は、choice1とchoice2の選択される可能性は同じ。
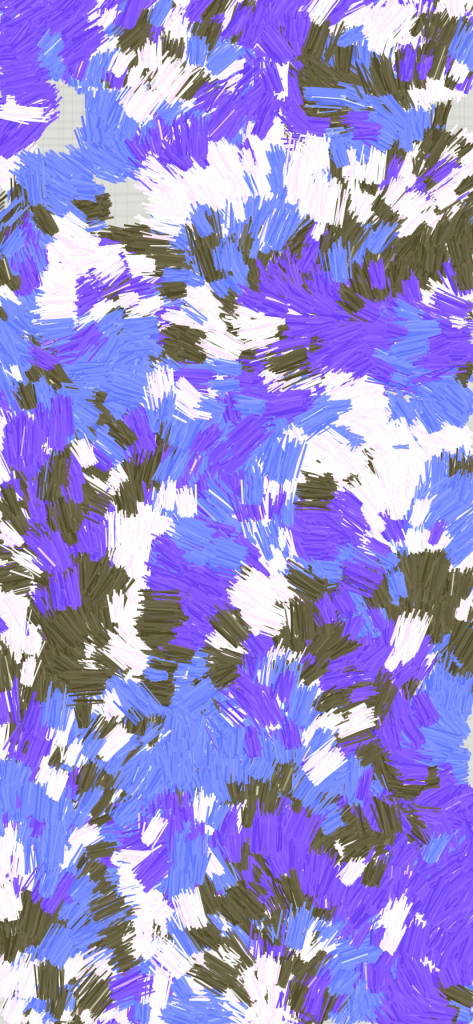
油絵を近くで見ていると、ハイライトとして真っ白の絵の具が使われていました。その確率はとても低いです。1つの筆の塗りを複数の線で作った場合に、以下のように青色の線の中に、真っ白なハイライトの線を、ほんとにたまーに入れたいです。
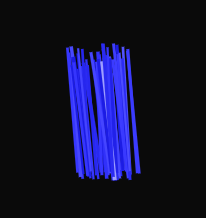
この場合p5jsのnativeのrandomだと目的を達成できません。やりたいことは、lineの色を決める際に、weightedRandomChoice( [“blue”, “white”] , [0.99, 0.01]) という感じで、重みに応じて色をランダムで選択してほしいです。
以下がそのコードです。
/**
 * 重み付きランダム選択を行う関数。
 * `items` の各要素に対応する `weights` を使って、
 * 重みに比例した確率で 1 つの要素を返します。
 * @param {Array} items - 選択する値のリスト
 * @param {number[]} weights - 各値の重み(大きいほど選ばれやすい)
 * @returns {*} 選ばれた値
 *
 * @example
 * // 「A, B, C」を 1:3:6 の割合で返す
 * const items = ["A", "B", "C"];
 * const weights = [1, 3, 6];
 * const result = weightedRandomChoice(items, weights);
 * console.log(result); // だいたい C が一番よく出る
 */
function weightedRandomChoice(items, probabilities) {
    let sum = probabilities.reduce((a, b) => a + b, 0);
    let rand = Math.random() * sum;
    let cumulative = 0;
    for (let i = 0; i < items.length; i++) {
        cumulative += probabilities[i];
        if (rand < cumulative) {
            return items[i];
        }
    }
}
これをつかって、筆のひと塗りのclassを書きました。
class Paint {
    /**
     *
     * @param {*} posx
     * @param {*} posy
     * @param {*} direction - should be ranged from 0-TWO_PI
     * @param {*} paintLength
     * @param {*} paintWidth
     * @param {*} paintColor
     */
    constructor(posx, posy, direction, paintLength, paintWidth, paintColor) {
        this.posx = posx
        this.posy = posy
        this.direction = direction
        this.paintLength = paintLength
        this.paintWidth = paintWidth
        this.paintColor = paintColor
    }
    viz() {
        let numOfHair = min(10, randomGaussian(this.paintWidth, 10))
        push(); translate(this.posx, this.posy)
        rotate(this.direction)
        for (let index = 0; index < 5; index++) {
            push()
            strokeCap(SQUARE)
            for (let widthIndex = 0; widthIndex < numOfHair; widthIndex++) {
                let diffx = randomGaussian(this.paintWidth / numOfHair, this.paintWidth * 0.2)
                translate(diffx, 0)
                let thiscolor_factor = noise(widthIndex * 1) * 100 + random(10) + weightedRandomChoice([0, random(50, 150)], [0.991, 0.009])
                let thiscolor = color(
                    red(this.paintColor) + thiscolor_factor,
                    green(this.paintColor) + thiscolor_factor,
                    blue(this.paintColor) + thiscolor_factor,
                    alpha(this.paintColor)
                )
                stroke(thiscolor)
                strokeWeight(random(1, 2))
                line(random(-1, 1), random(-3, 3),
                    randomGaussian(this.paintWidth * 0.3, 2), this.paintLength + random(-1, 1) * 5 + map(diffx, 0, this.paintWidth / numOfHair + this.paintWidth * 0.5, 10, 0))
            }
            pop()
        }
        pop()
    }
}
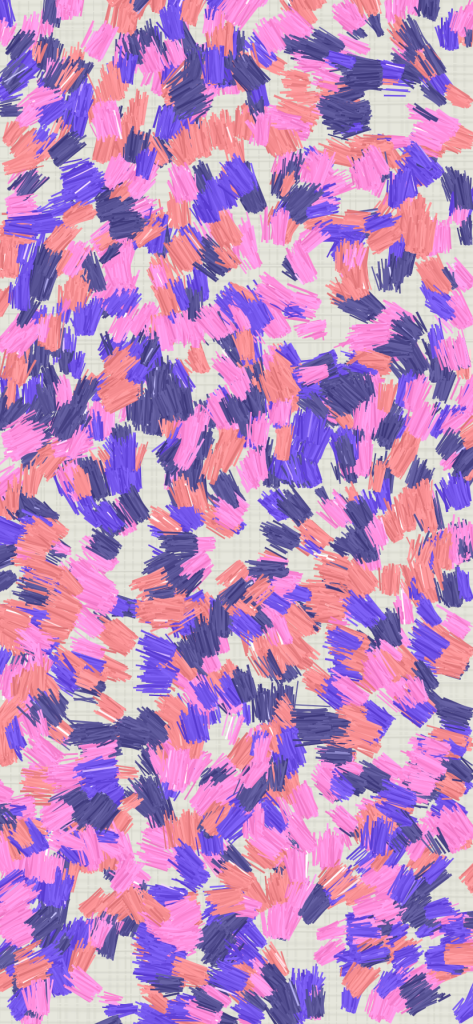
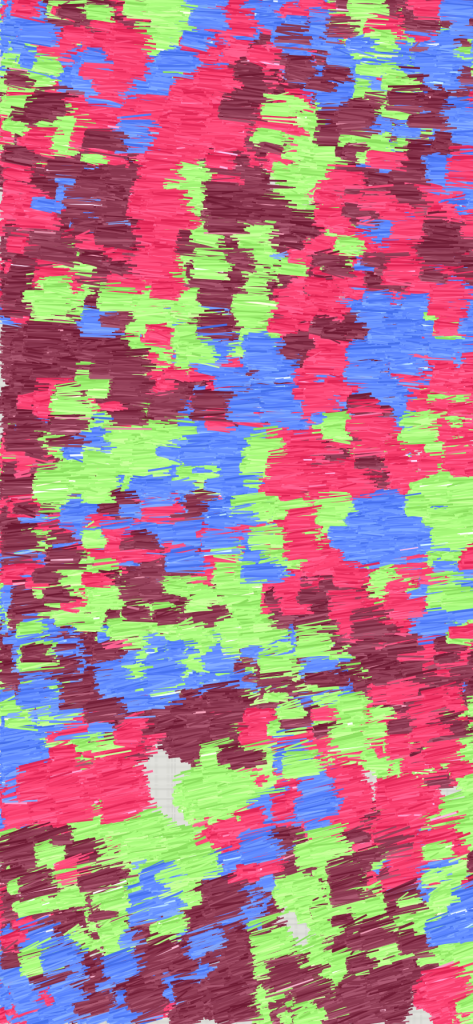
ひと塗りのclassを使って白いキャンバス地に色を塗っていきます。
ひと塗りの長さも上記のweightedRandomChoiceを使って設定しています。また、色ごとに塗りの位置を凝集させるために、色ごとのPerlin fieldを生成し、位置をもとに0-1の数値を取得してthresholdに達していれば描写されるようにしています。
function setup() {
  createCanvas(windowWidth, windowHeight);
  let backgroundColor = color(225, 225, 220)
  background(backgroundColor)
  // ---- キャンバス柄 ----
  ...
  // ---- 油絵風の塗り ----
  const colorPallets = [
    color(random(255), random(50), random(255),random(240,255)),
    color(random(255), random(100), random(255),random(240,255)),
    color(random(255), random(200), random(255),random(240,255)),
    color(random(255), random(255), random(255),random(240,255))
  ]
  //PaintClassに渡す塗りの長さのリスト
  const paintStrokeLengths = [
    20,
    10,
    5
  ]
  //塗りの長さの選択確率を設定
  const paintStrokeLengthsProbabilities = [
    0.3,
    0.6,
    0.1
  ]
  let thresholdToBeWritten = 0.5
  let numberOfStrokes = 100000
  let padding = 0
  for (let strokeIndex = 0; strokeIndex < numberOfStrokes; strokeIndex++) {
    //位置をランダムに決める
    let posx = random(padding,width-padding/2)
    let posy = random(padding,height-padding/2)
    //色をランダムに決める
    let colorIndex = random([...colorPallets.keys()])
    let thiscolor = colorPallets[colorIndex]
    //塗りの設定。確率の重さに応じてランダム選択する
    let paintStrokeLength = weightedRandomChoice(paintStrokeLengths,paintStrokeLengthsProbabilities)
    let paintStrokeWidth = paintStrokeLength/1.618
    //色ごとに塗りを密集させる
    let possibilityToBeWritten = noise(posx * 0.016, posy * 0.017, colorIndex)
    let paintDirection = noise(posx * 0.0001, posy * 0.0001) * TWO_PI
    if (possibilityToBeWritten > thresholdToBeWritten) {
      new Paint(
        posx,
        posy,
        paintDirection,
        paintStrokeLength,
        paintStrokeWidth,
        thiscolor
      ).viz()
    }
  }
}
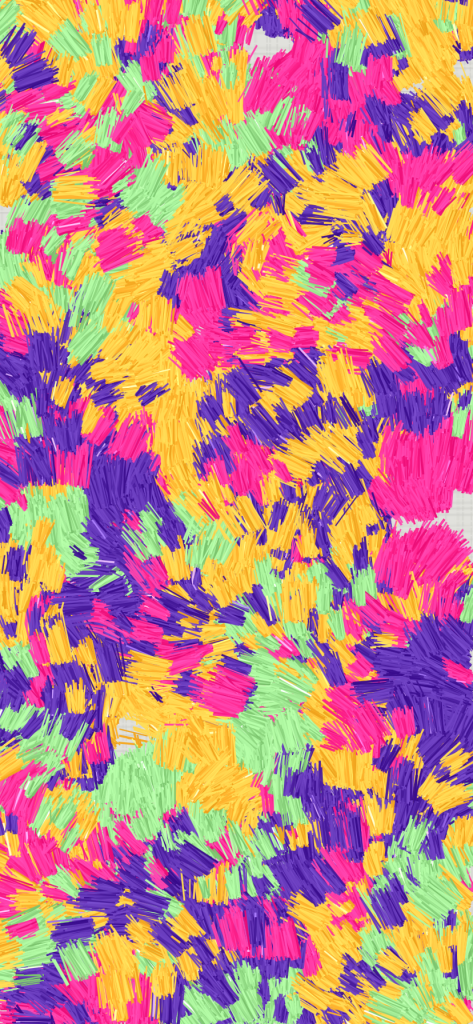
randomを使いまくって以下の画像ができました。テスト駆動開発をもじって、“ランダム駆動開発” とでも呼びたくなりました。
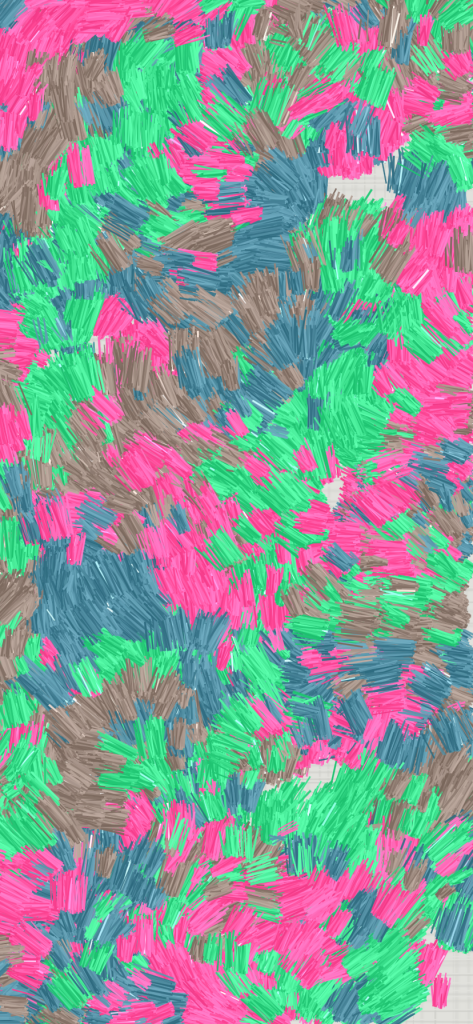
来年はいい年になりますように!