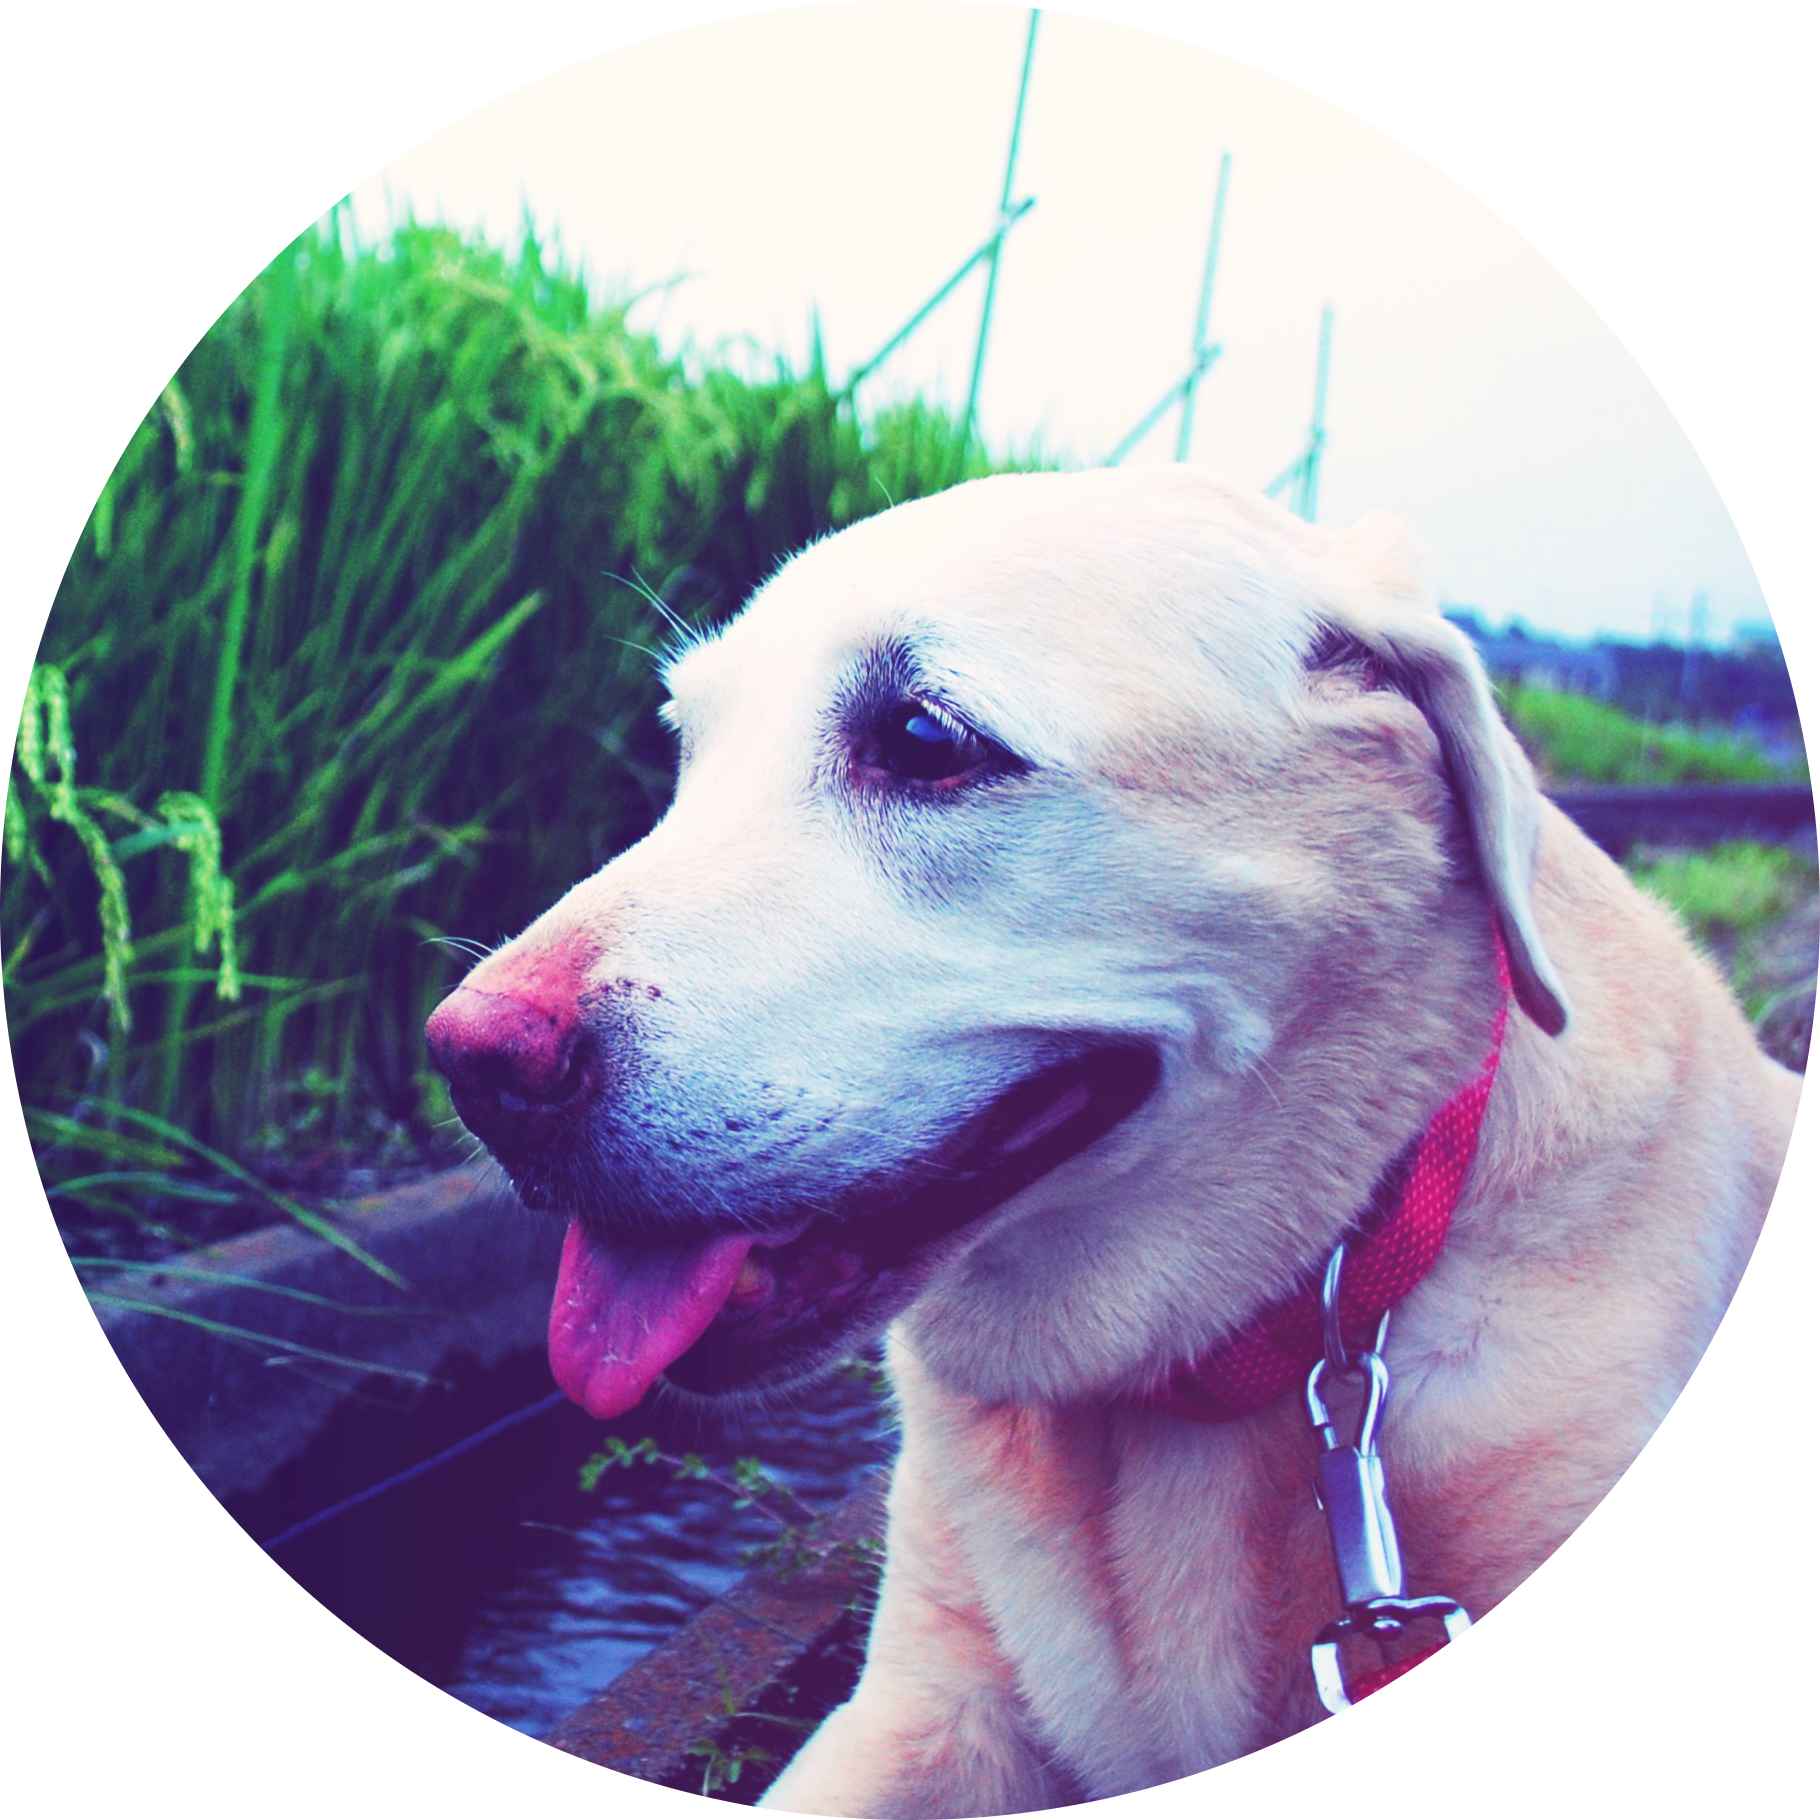
https://kindpark.jpn.org/dogemotion/
上記ページでウェブアプリを試すことができます。

以前の記事で、CNNを使って数字を判別するAIの作り方を紹介しました。今回は、犬の画像をもとに犬の感情を判別するAIの作り方を紹介します。正解率98%のモデルを作ることができました。
まず、目標から設定します。私の目で犬の画像を見て、4つの状態が推測できると考えます。
- 嬉しい。満足。
- 元気ない 。眠い。つまんない。
- 普通。特に感情ない。
- 怒っている。または恐怖。
もちろん、獣医師として実際の犬を見たときには、痛みを感じているとか神経症状があるとか甲状腺機能低下症とか、そういった情報も犬を見たらだいたい分かります。ただ、画像だけを見た時には上記4つくらいしか判断できないかなというところです。
この4つの感情を画像から判断するAIを作りたいと思います。
- 4つのカテゴリごとに画像を集める(100枚ずつ計400枚)
- 画像を変形縮小回転して枚数を5倍にする(計2000枚)
- Convolutional Neural Network(CNN)に学習させる
- CNNを使って画像から犬の気持ちを予測する
1.4つのカテゴリごとに画像を集める(100枚ずつ計400枚)
CNNを作成するにあたって、必要な枚数についてのガイドラインはありません。今回、4カテゴリ100枚ずつを用意して98%の正解率を出すことができたので、逆に言えば、この問題はこれくらいの枚数でいいということでしょう。
画像を集める方法としては、以下の方法があります。
- 自分で写真撮る
- Githubのgoogle-images-downloadを使う
- chrome拡張機能を使う
- ブックマークレットを使う
2-4はgoogleの定期的な仕様変化により、すぐに古い方法は使えなくなります。今、記載しても確実に半年後には使えなくなるので、方法については検索をお願いします!4のブックマークレットが手早くていいと思います。
感情のフォルダごとに画像を保存してください。
2.画像を変形縮小回転して枚数を5倍にする(計2000枚)
tensorflowにImageDataGeneratorという便利な機能があります。この機能は、画像を拡大・縮小・右回転・左回転・明るさの変化等の加工をして別の画像を作る機能です。この機能を使う事で、学習のもとになる画像の数を飛躍的に増やすことができるのです。
大事なことは、フォルダごとに画像を読み込みますが、numpy arrayにする際にはその順番をシャッフルしてください。CNNに読み込ませるときにバッチ内が全て同じ感情のグループだと、うまく学習できません。最初、そのことを知らなくてvalとaccが全然あがらずに、なぜなんだろうと頭を抱えていました。ほかの機械学習にはないポイントで、異質ですね。
詳しくは、以下の記事を参照してください。コードが載っています。
3.Convolutional Neural Network(CNN)に学習させる
tensorflowを使って、CNNをモデリングして学習させます。自力でベーシックなCNNを作りましたが、ACC6割程度のしか実現できませんでした。4カテゴリなので、ACC25%がベースです。
詳しい方法は以下に記載しています。
ポイントは、3カテゴリ以上なのでlossには、categorical_crossentropyを使います。また、最後のDense層はactivationにsoftmaxを使います。
結局、AutoMLのAutoKerasを使ってtest setでACC98%を実現しました。
7/7 [==============================] – 41s 491ms/step – loss: 0.0951 – accuracy: 0.9804 [0.09505873173475266, 0.9803921580314636]

途中にEfficientNetB7が組み込まれているパラメーター64,107,938の巨大なモデルができあがりました。
もちろんリアルタイム判定はかなり厳しいです。10秒くらい判別にかかります。opencvを使えば、ウェブカメラからも表情判別ができます。
4.CNNを使って画像から犬の気持ちを予測する
上記のautokerasで作成したNNモデル(efficientnetが入ってるからCNN?)を保存して、次は予測に使います。インターフェイスつきのプログラムを作りました。参考にコードを載せておきます。
# -*- coding: utf-8 -*-
import os
os.environ["CUDA_VISIBLE_DEVICES"] = "-1"

###### Analyzer application ###################################
import pandas as pd
import glob
import cv2
import numpy as np
import tkinter
from tkinter import filedialog
import tkinter.ttk
import tkinter.messagebox
import os
from tensorflow.keras.preprocessing.image import load_img, img_to_array,array_to_img
from tensorflow.keras.models import load_model
import autokeras
import tensorflow as tf
from PIL import Image, ImageOps

#################### function to close the tinker window ####################
def _destroyWindow(root):
    root.quit()
    root.destroy()

#################### function to ask which directly contains target pictures ####################
def askfileplace1():
    file_name = tkinter.filedialog.askopenfilename(title = "Select file",filetypes = (("jpg","*.jpg"),("all files","*.*")))
    global path
    path.set(file_name)

#################### function to ask where the trained model ####################
def askfileplace2():
    file_name = tkinter.filedialog.askopenfilename(title = "Select file",filetypes = (("h5 file","*.h5"),("all files","*.*")))
    global model_path
    model_path.set(file_name)

#################### function to recognize number  #################################
def face_recognize(selected_path,  model_path):

    classlist = ["happy","angry","neutral","no energy"]

    X_trial = []
    im = Image.open(selected_path)
    img = im.resize((224,224))
    img = img_to_array(img)
    img = img.reshape(224, 224, 3)
    img = img.astype('float32')/255
    X_trial.append(img)
    X_trial = np.array(X_trial, dtype='float')

    model = load_model(model_path,custom_objects=autokeras.CUSTOM_OBJECTS)

    pred = model.predict(X_trial)
    result = classlist[np.argmax(pred)]

    tkinter.messagebox.showinfo('表情認識AI','解析が終了しました。\n結果は\n{}です'.format(result))

#################### Interface #################################
def interface():
    global root

    root = tkinter.Tk()
    root.title('表情認識AI')
    root.resizable(True, True)
    root.geometry("600x200")

    frame1 = tkinter.ttk.Frame(root, padding=(32))
    frame1.grid()

    #create path text
    label1 = tkinter.ttk.Label(frame1, text='写真ファイルの場所', padding=(5, 2))
    label1.grid(row=0, column=0, sticky=tkinter.E)

    # create path textboxes
    global path
    path =tkinter.StringVar()
    path_entry = tkinter.ttk.Entry(frame1,textvariable=path,width=30)
    path_entry.insert(0,path_input)
    path_entry.grid(row=0, column=1,columnspan=2)

    # create file dialog
    path_button = tkinter.ttk.Button(frame1,text="ファイル選択",command= lambda : [askfileplace1()] )
    path_button.grid(row=0, column=3)

    #create path text2
    label2 = tkinter.ttk.Label(frame1, text='CNNモデル(h5ファイル)場所', padding=(5, 2))
    label2.grid(row=1, column=0, sticky=tkinter.E)

    # create path textboxes2
    global model_path
    model_path =tkinter.StringVar()
    model_path_entry = tkinter.ttk.Entry(frame1,textvariable=model_path,width=30)
    model_path_entry.insert(0,model_path_input)
    model_path_entry.grid(row=1, column=1,columnspan=2)

    # create file dialog2
    path_button = tkinter.ttk.Button(frame1,text="ファイル選択",command= lambda : [askfileplace2()] )
    path_button.grid(row=1, column=3)

    # 撮影開始button
    button1 = tkinter.ttk.Button(
        frame1, text='解析開始',
        width = 20,
        command= lambda : [face_recognize(path.get(),
                                          model_path.get())])

    button1.grid(row=2, column=1, pady = 50, padx = 10 )

    # 終了button
    button2 = tkinter.ttk.Button(frame1, text='終了',width = 20,command= lambda : [_destroyWindow(root)])
    button2.grid(row=2, column=2, pady = 50, padx = 10 )

    root.mainloop()

#################### initial parameters ####################

path_input=""
model_path_input = os.path.join(os.path.abspath(os.path.dirname(__file__)), "dogfaceemotion_autokeras.h5")
#model_path_input = ""

interface() # call the function to create a interface.
UI

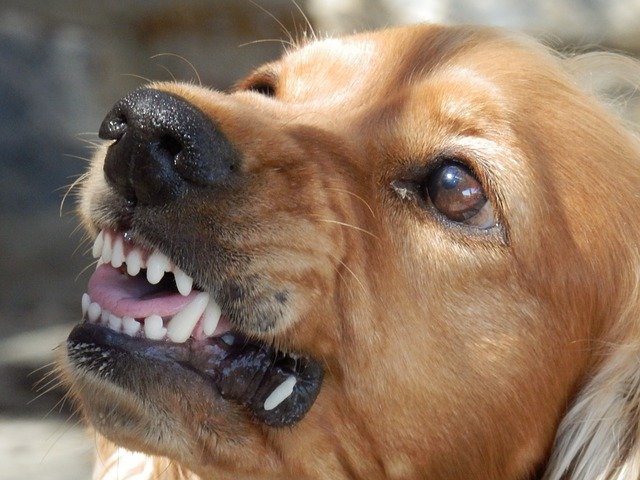
この画像はどうでしょう?激おこですね

これはどうでしょうか?ねむーい
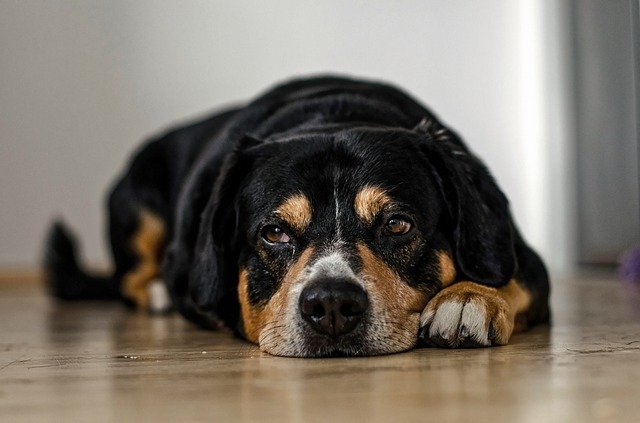
Kevin PhillipsによるPixabayからの画像

これはどうでしょう?歯が出てるから、怒っているのと判別難しいでしょうか?ゴールデン、ラブはこのような優しい幸せそうな顔が素敵ですよね。
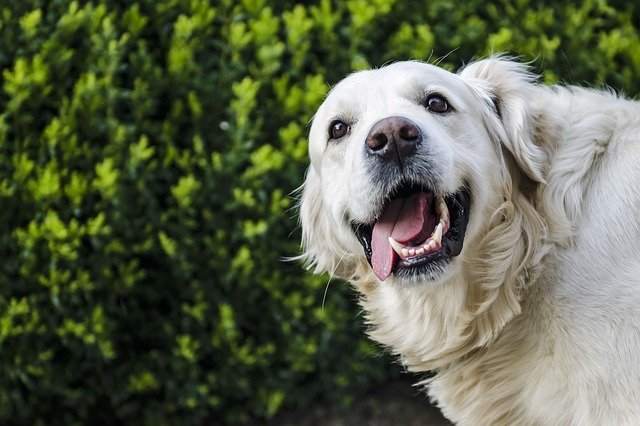
Agata NygaによるPixabayからの画像

これはどうでしょう。無ですね。
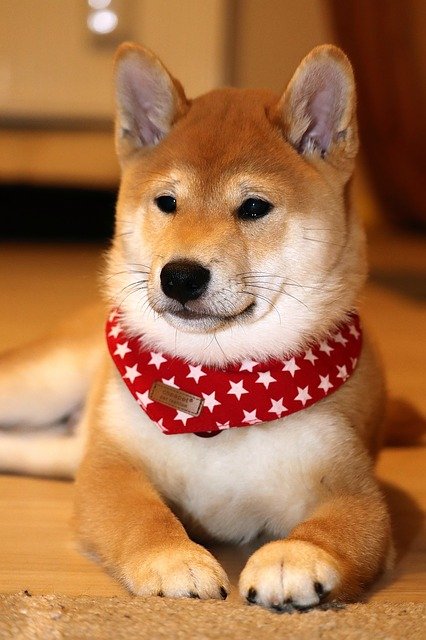
Thorsten SchulzeによるPixabayからの画像

完全に私の判断と一致しています!
リアルタイム性がないのが残念ですが、精度はとてもいいものができました!!
